How to Use an Engraving Portrait Prompt to Create Timeless AI Art
How to Use an Engraving Portrait Prompt to Create Timeless AI Art
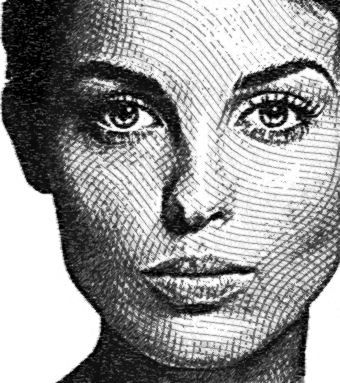
If you want to generate portraits that feel classic, detailed, and deeply artistic, engraving-style illustration prompts are one of the most powerful tools you can use. Unlike modern digital art styles, engraving focuses on line work, hatching, and contrast rather than colors and textures. When you apply the right prompt structure, you can push AI image generators to produce portraits that look like they came straight from an old book, banknote, or 19th-century print.
In this guide, you’ll learn how to fully leverage the following prompt concept:
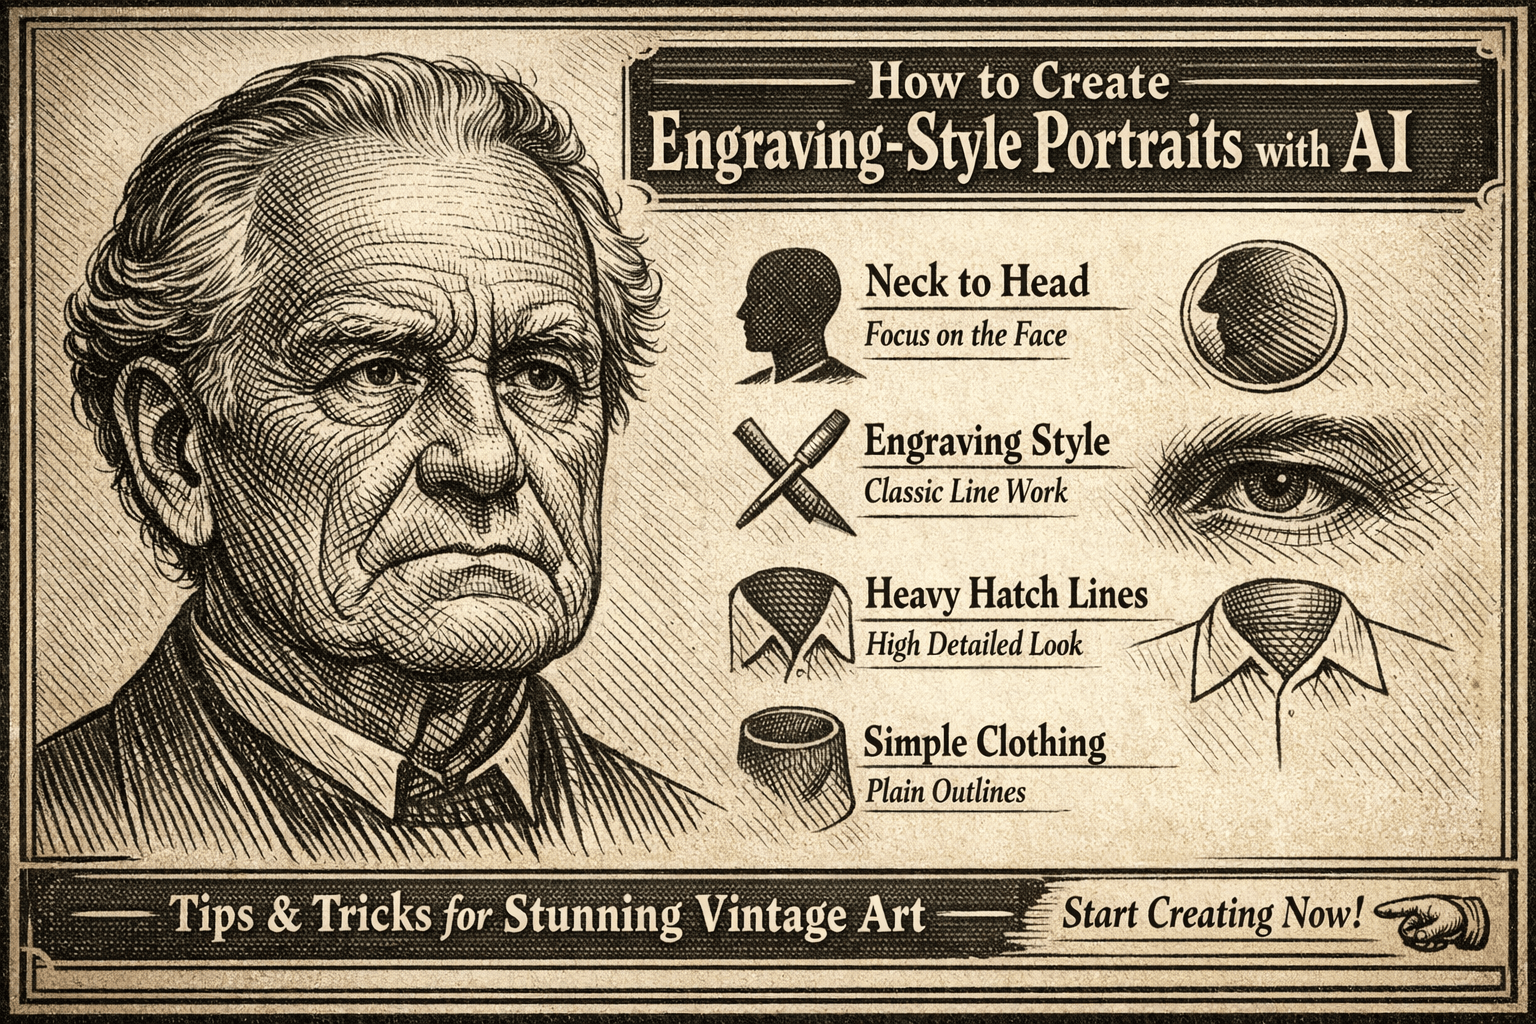
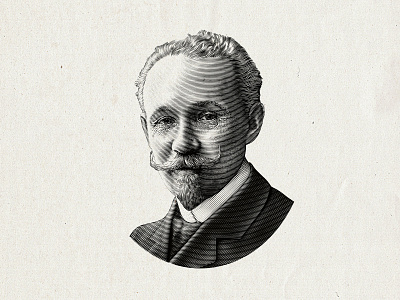
Generate a portrait from neck to head, strictly following an engraving illustration style, with many hatch lines on the face, and clothes drawn only with outer contour lines.
You’ll discover why this prompt works so well, how to customize it for different use cases, and how to optimize it for consistent, high-quality results.
Why Engraving-Style Portraits Are So Popular
Engraving illustrations carry a sense of authority and craftsmanship. They instantly communicate precision, tradition, and depth. That’s why you see them used in:
- Editorial illustrations
- Book covers and posters
- Branding and logos
- NFT and fine-art collections
- Historical or educational content
When you generate engraving portraits with AI, you’re tapping into a visual language that feels premium and intentional. You’re not just creating an image—you’re creating a statement.
Understanding the Core Prompt Structure
To get consistent results, you need to understand what each part of the prompt is telling the AI to do.
1. Portrait From Neck to Head
This framing is crucial. By limiting the image to the neck and head, you force the AI to focus on facial structure, expression, and line detail. This avoids distracting elements and ensures the engraving style shines where it matters most.
Why it works for you:
- Better facial accuracy
- Cleaner composition
- More controlled output
2. Strict Engraving Illustration Style
The word “strictly” is doing heavy lifting here. It tells the model not to mix styles, not to soften edges, and not to introduce painterly or digital effects.
This helps you avoid:
- Smooth shading
- Realistic skin textures
- Modern illustration artifacts
Instead, you get sharp, deliberate lines that resemble hand-engraved prints.

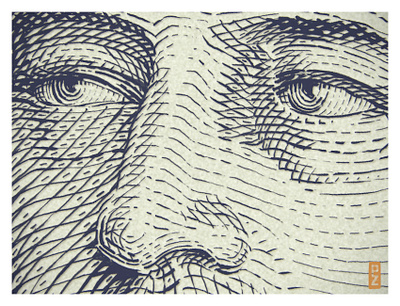
3. Heavy Hatch Lines on the Face
Hatching is the soul of engraving. By explicitly asking for a lot more hatch lines on the face, you push the AI to create depth through line density rather than gradients.
This results in:
- Strong contrast
- Dramatic lighting
- A handcrafted appearance
If you want even more intensity, you can later experiment with terms like cross-hatching or dense line work.
4. Clothes With Only Outer Lines
This is a subtle but powerful instruction. By removing internal clothing details, you prevent visual competition with the face. The portrait remains the focal point, while the clothing simply frames it.
For branding and editorial use, this minimal approach is especially effective.
How You Can Customize the Prompt for Different Results
Once you understand the base structure, you can adapt it to match your creative goals.
Change the Subject
You can replace [change the person] with:
- A historical figure
- A fictional character
- A profession (writer, philosopher, scientist)
- A descriptive identity (elderly man, young woman, stern judge)
This gives you flexibility without breaking the engraving style.
Adjust the Mood
Although engraving is line-based, mood still matters. You can influence expression and tone with small additions:
- Calm and neutral expression
- Serious and authoritative look
- Thoughtful gaze
- Dramatic lighting emphasis
These details guide the AI while keeping the illustration consistent.
Control Cleanliness vs. Detail
If you want:
- More raw detail → emphasize heavy hatching
- Cleaner output → reduce hatching slightly and keep spacing balanced
You’re always in control by adjusting how much emphasis you place on line density.
Best Use Cases for Engraving Portrait Prompts
This prompt style isn’t just artistic—it’s strategic. Here’s where it works best for you.
Branding and Logos
Engraved portraits instantly elevate a brand. They feel trustworthy, established, and refined—perfect for finance, publishing, or luxury products.
Editorial and Blog Illustrations
If you publish long-form content, engraving portraits help your articles stand out visually without looking generic or overdesigned.
Posters and Print Media
Because engraving relies on lines instead of colors, it prints beautifully in black and white, making it ideal for posters, books, and packaging.
AI Art Collections and NFTs
Collectors often look for style consistency and craftsmanship. Engraving portraits deliver both.
Common Mistakes You Should Avoid
Even with a strong prompt, small mistakes can ruin the result.
- Adding color instructions (engraving works best in monochrome)
- Mixing modern styles like “realistic” or “photorealistic”
- Forgetting to limit clothing detail
- Not emphasizing line work enough
If the output looks too smooth, your prompt likely isn’t strict enough.
SEO Tip: How This Prompt Helps You Rank
If you’re creating content around AI prompts or illustration styles, engraving prompts are highly searchable. By building content that explains how and why this style works, you attract readers who want practical guidance—not just examples.
To improve visibility:
- Use descriptive headings
- Answer real user questions
- Include use cases and solutions
- Keep language natural and human
That’s exactly what you’re doing here.
Final Thoughts: Why You Should Start Using This Prompt Today
Engraving-style portrait prompts give you precision, elegance, and timeless appeal—all in a single structure. When you apply this prompt correctly, you stop relying on trial and error and start producing consistent, professional results.
If you want your AI portraits to feel intentional rather than generic, this is a technique you should master.
👉 Now it’s your turn:
Experiment with this prompt, tweak one element at a time, and build your own signature engraving style. Share your results, refine your approach, and keep pushing your creative limits.