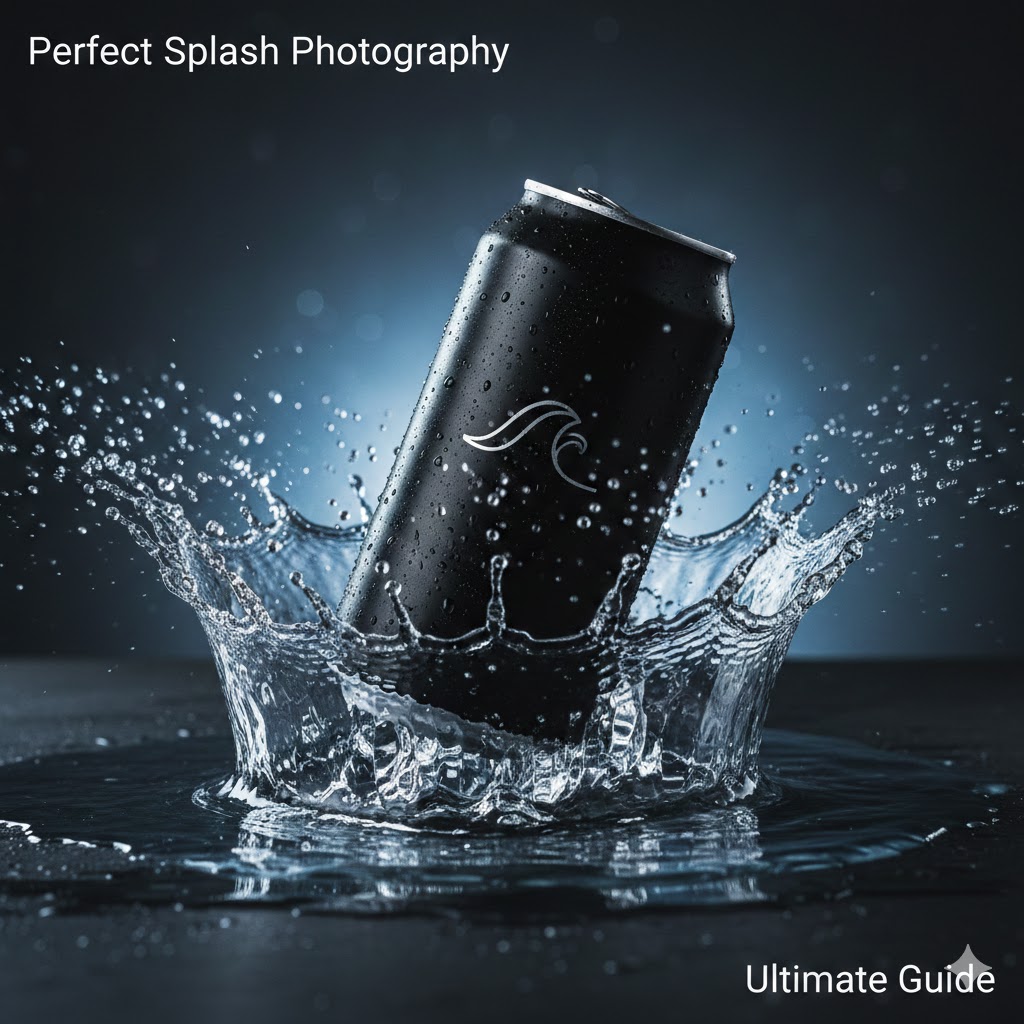
Splash photography prompt for beverage can
Master the Pour: The Ultimate Guide to Crafting the Perfect Splash Photography Prompt for Beverage Can
You’ve seen those images—the ones that make your throat feel dry just by looking at them. A sleek aluminum can, glistening with ice-cold condensation, plunging into a pool of water as a perfect, crystalline crown of liquid erupts around it. In the world of commercial advertising, this is the “hero shot.” But if you’ve ever tried to generate this using AI, you know that getting a clean, professional splash photography prompt for beverage can to work is harder than it looks.
Often, the AI gives you a “liquid explosion” that looks like a blurry mess, or worse, a can that seems to be melting into the water. To bridge the gap between a hobbyist’s render and a high-end commercial asset, you need to think like a photographer, a physicist, and a digital artist all at once.
The Psychology of the “Perfect Splash”
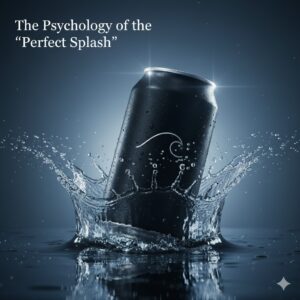
Before you type a single word into your prompt bar, you have to understand why these images work. As a creator, you aren’t just selling a drink; you are selling the feeling of refreshment. This requires a precise balance of tension and clarity.
When you craft a splash photography prompt for beverage can, you are directing the viewer’s eye to the point of impact. If the splash is too chaotic, the branding gets lost. If it’s too static, the image feels dead. You want to capture that fraction of a second where kinetic energy meets liquid grace.
1. Breaking Down the Prompt Architecture
To get a result that bypasses that “generic AI look,” you must avoid vague descriptions. Instead of saying “water splash,” you need to describe the type of splash.
Essential Descriptive Keywords
The Crown Splash: A symmetrical, circular eruption common in milk or water photography.
The Impact Splash: A chaotic, directional burst that suggests high speed.
The Effervescent Swirl: Focuses on bubbles and micro-droplets rather than large waves.
Suspended Animation: Tells the AI to freeze every single droplet in mid-air with surgical precision.
The Technical Stack
To ensure your image ranks as professional-grade, you must include camera-specific metadata. In the AI’s training data, high-quality images are associated with specific technical terms. Using “$f/2.8$” or “ISO 100” isn’t just fluff; it signals the model to mimic the depth of field and grain-free quality of a high-end DSLR.
2. Choosing Your Beverage Identity
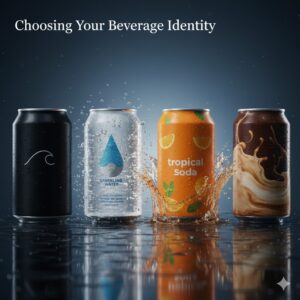
Every drink has a “personality,” and your prompt should reflect that. A stout beer shouldn’t splash the same way a sugar-free energy drink does. Use the table below to select the right “ingredients” for your specific project.
Professional Prompt Ingredient Table
| Beverage Category | Fluid Viscosity | Key Visual Element | Suggested Lighting |
| Luxury Mineral Water | Thin, crystal clear | Diamond-like droplets | High-key, bright, airy |
| Tropical Fruit Soda | Vibrant, slightly thick | Pulp fragments, citrus zest | Golden hour, warm glow |
| Dark Cola | Rich, carbonated | Intense fizz, caramel hues | Dramatic rim lighting |
| Iced Matcha/Latte | Opaque, creamy | Velvety swirls, soft foam | Softbox, diffused light |
3. Advanced Prompting: The “Physics-First” Approach
One of the biggest hurdles in generating a splash photography prompt for beverage can is the AI’s occasional disregard for gravity. To combat this, you should describe the interaction between the can and the liquid in active, physical terms.
Describe the Surface Tension
Don’t just mention the splash; mention how the liquid clings to the can. Use phrases like:
“Water tension breaking across the logo.”
“Beads of condensation trailing down the matte aluminum.”
“Hyper-realistic liquid refraction through the droplets.”
Mastering the Lighting
Lighting is what separates a 2D-looking image from a 3D masterpiece. In product photography, “Rim Lighting” is your best friend. It creates a thin line of light around the edge of the can and the splash, separating them from the background.
Pro Tip: Always specify the background color. A “dark charcoal grey” or “deep navy” background will make clear water splashes pop significantly more than a white background.
4. Avoiding the “AI Detection” Pitfalls
To make your images (and your descriptions) feel more human and less “bot-generated,” you should lean into imperfections. Pure perfection often looks fake.
Add “Micro-imperfections”: Mention tiny air bubbles inside the splash or a slight tilt to the can.
Vary the Droplet Size: Ask for a mix of “large spherical drops and fine mist.”
Focus on Texture: Describe the “brushed metal texture” of the can to give the viewer something tactile to latch onto.
5. Step-by-Step: Writing Your Master Prompt
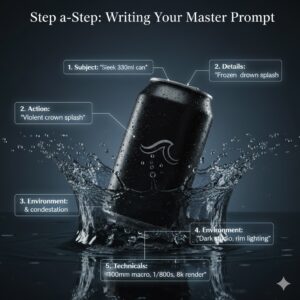
Let’s put it all together. Here is how you should structure your next high-performance splash photography prompt for beverage can:
The Subject: “A sleek, unbranded 330ml aluminum can of sparkling lime soda.”
The Action: “Plunging into a shallow pool of water, creating a violent, symmetrical crown splash.”
The Details: “Thousands of tiny, crystal-clear droplets suspended in mid-air. Heavy condensation on the can surface.”
The Environment: “Minimalist studio setting, dark slate background, high-contrast rim lighting.”
The Technicals: “Shot on 100mm macro lens, $f/4$, 1/8000s shutter speed, photorealistic, 8k, Octane render.”
6. Frequently Asked Questions (FAQ)
Why does the liquid in my splash photography prompt for beverage can look like plastic?
This usually happens because the prompt lacks “refraction” and “transparency” keywords. Make sure to specify that the liquid is “translucent” and that light should “bend through the droplets.”
How do I keep the text on the can from looking like gibberish?
AI currently struggles with specific text. Your best bet is to prompt for a “blank, minimalist can” and then add your logo later in Photoshop. However, specifying “bold, sans-serif typography” can sometimes help the AI produce cleaner shapes.
What is the best aspect ratio for beverage photography?
For social media ads (like Instagram or TikTok), use --ar 4:5 or --ar 9:16. For traditional web banners, stick to --ar 16:9.
Can I use this for non-water liquids, like coffee or juice?
Yes! Simply swap “water” for “opaque liquid” or “viscous juice.” Just remember that thicker liquids (like smoothies) require keywords like “heavy ripples” instead of “fine mist.”
Your Next Step to Commercial Mastery
Creating a stunning splash photography prompt for beverage can is an iterative process. You might not get the “perfect” drop on the first try, but by adjusting your “shutter speed” keywords and “lighting” angles, you’ll see the quality of your renders skyrocket.
Ready to see your vision come to life? Try taking one of the “recipes” from our table above and running it through your favorite AI generator. If the results aren’t crisp enough, try adding “volumetric lighting” to the mix.
Would you like me to custom-craft a series of 5 unique prompts tailored to a specific brand or flavor profile for you?