
AI Image Prompts for Beginners: How to Write Prompts That Work
MidJourney Prompts Step by Step: How to Write Powerful Prompts That Give You Exactly What You Imagine
AI image prompts for beginners are the foundation of creating clear, high-quality visuals with artificial intelligence, and learning how to write them correctly will completely change your results.
You open MidJourney, type a few words, hit enter… and the result is disappointing.
The image looks random, messy, or nothing like the picture you had in your head.
If that sounds familiar, you’re not alone.
The truth is simple: great images don’t come from luck — they come from well-written prompts.
Once you understand how to write MidJourney prompts step by step, you stop guessing and start controlling the output.
In this guide, you’ll learn a clear, practical system you can reuse for any style, project, or idea — even if you’re a complete beginner.
What Are MidJourney Prompts (And Why They Matter So Much)?
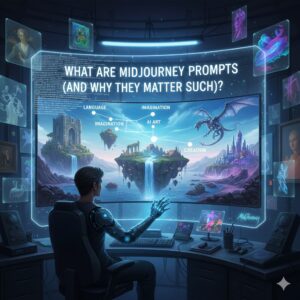
A MidJourney prompt is the instruction you give the AI to generate an image.
But it’s not just “what you type” — it’s how you structure your request.
MidJourney reads prompts in a logical order:
- Subject first
- Description next
- Style and mood after
- Technical settings at the end
When you write prompts randomly, the AI guesses.
When you write prompts step by step, you guide it.
Why You Should Learn MidJourney Prompts Step by Step
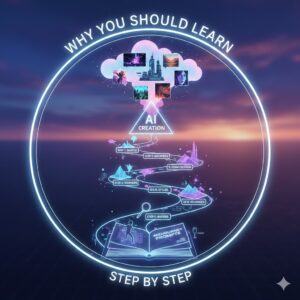
Writing prompts step by step gives you real advantages:
- You get consistent results instead of surprises
- You waste fewer credits
- You can recreate or improve images easily
- You gain control over style, lighting, and composition
Whether you’re creating images for:
- Content
- Branding
- Print-on-demand
- Social media
- Concept art
…this skill saves time and delivers professional-quality visuals.
MidJourney Prompts Step by Step: The Complete Method

Let’s break the process into simple, repeatable steps you can follow every time.
Step 1: Start With a Clear Subject
Always begin with one clear subject.
This is the foundation of your image.
Examples:
- A futuristic sports car
- A medieval knight
- A minimalist workspace
- A golden retriever puppy
Tips for better results:
- Be specific
- Avoid abstract ideas at the start
- Focus on one main subject, especially as a beginner
Bad example:
freedom, power, emotion
Good example:
a lone warrior standing on a mountain cliff
Step 2: Add Descriptive Details
Now describe what the subject looks like.
Think visually:
- Colors
- Materials
- Age
- Emotion
- Environment
Example:
a lone warrior standing on a mountain cliff, wearing dark armor, flowing cape, dramatic sky
This step helps MidJourney understand how the subject should appear, not just what it is.
Step 3: Define the Style or Medium
Style tells MidJourney how the image should be created.
Common style options:
- Photorealistic
- Cinematic
- Oil painting
- Watercolor illustration
- Anime style
- 3D render
- Digital art
Example:

cinematic, ultra-realistic, high detail
You can combine styles, but avoid contradictions.
Clarity always beats complexity.
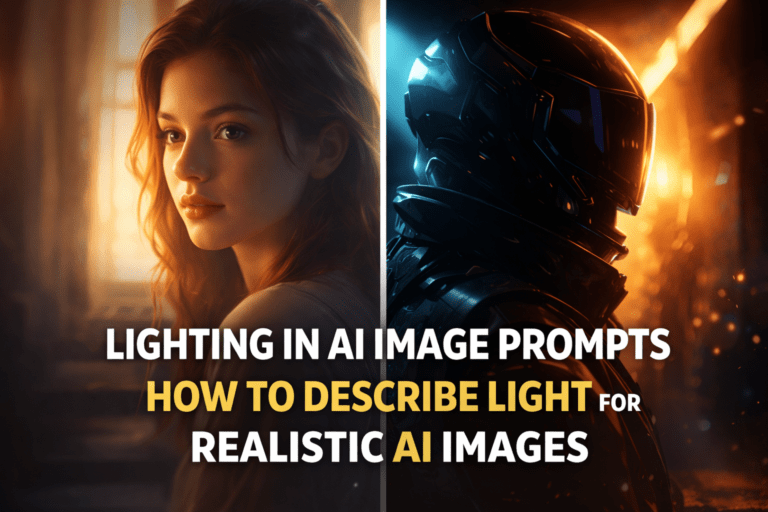
Step 4: Control Lighting and Mood
Lighting is one of the most powerful prompt elements.
Examples:
- Soft natural light
- Dramatic lighting
- Neon lighting
- Golden hour
- Low-key lighting
Mood examples:
- Dark and moody
- Warm and cozy
- Futuristic and clean
- Mysterious
This step dramatically improves realism and emotional impact.
Step 5: Set Camera and Composition
This is where your images start looking professional.
Camera and composition terms:
- Close-up
- Wide shot
- Portrait shot
- Top-down view
- Macro photography
- Shallow depth of field
Example:
wide angle shot, cinematic framing, depth of field
Step 6: Add MidJourney Parameters
Parameters give you technical control.
Common ones you should know:
--ar→ aspect ratio (example:--ar 16:9)--v→ version (example:--v 6)--stylize→ artistic intensity--chaos→ randomness--quality→ rendering detail
Always place parameters at the end of your prompt.
MidJourney Prompt “Ingredients” Table
Think of prompts like a recipe — every ingredient matters.
| Ingredient | Purpose | Example |
|---|---|---|
| Subject | Main focus | Futuristic motorcycle |
| Description | Visual detail | neon lights, metallic body |
| Style | Art direction | cinematic, ultra-realistic |
| Lighting | Mood | dramatic night lighting |
| Camera | Composition | low-angle shot |
| Parameters | AI control | --ar 16:9 --v 6 |
When you include all ingredients, results improve instantly.
Complete MidJourney Prompts Step by Step (Examples)
Beginner Example
a cozy wooden cabin in the forest, warm light, digital illustration –ar 1:1
Intermediate Example
a futuristic city skyline at night, neon lights, cinematic lighting, ultra-realistic, wide angle shot –ar 16:9 –v 6
Advanced Example
a cyberpunk female hacker, glowing tattoos, dark rainy city background, cinematic lighting, ultra-realistic, shallow depth of field, 85mm lens look –ar 2:3 –stylize 200 –v 6
Common Mistakes You Should Avoid
Many beginners struggle because of these mistakes:
- Being too vague
- Stuffing too many ideas into one prompt
- Ignoring parameters
- Mixing conflicting styles
- Copying prompts without understanding them
If something doesn’t work, simplify and rebuild step by step.
How to Improve Your MidJourney Prompts Over Time
You don’t need perfect prompts — you need iteration.
Best practices:
- Remix successful images
- Adjust one element at a time
- Save prompt structures that work
- Study high-quality community prompts
Progress comes from refinement, not randomness.
FAQ: MidJourney Prompts Step by Step
What is the best way to write MidJourney prompts step by step?
Start with a clear subject, add details, define style, control lighting, then finish with parameters.
Are MidJourney prompts step by step good for beginners?
Yes. This method removes confusion and gives you a reliable framework from day one.
How long should a MidJourney prompt be?
There’s no perfect length. Clear and structured beats long and messy.
Do parameters really matter?
Absolutely. Parameters control format, style strength, and consistency.
Conclusion: Take Control of Your Images
Once you learn how to write MidJourney prompts step by step, everything changes.
You stop hoping for good results — and start designing them.
This skill grows with practice, and every prompt makes you better.
Your Next Step
Save this guide, test the framework today, and start experimenting with intention.
If you want better images, it all begins with better prompts.